
-
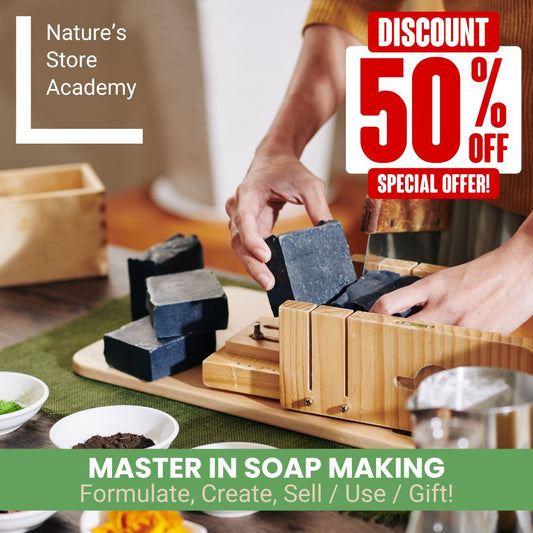
Online Soap Making Course - Learn to Make Natural and Organic Soaps
Vendor:TNS AcademyRegular price Rs.5,000Regular priceUnit price perRs.10,000Sale price Rs.5,000Sale -
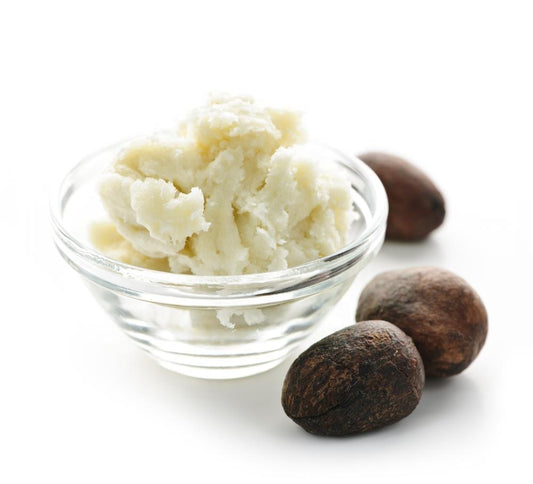
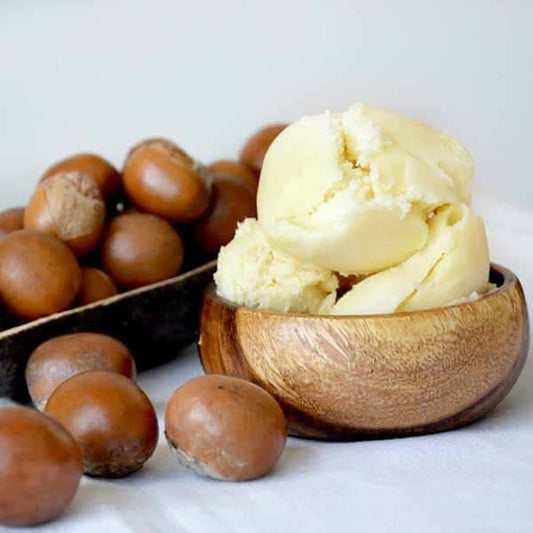
Refined Shea Butter
Vendor:KCCRegular price From Rs.840Regular priceUnit price per -
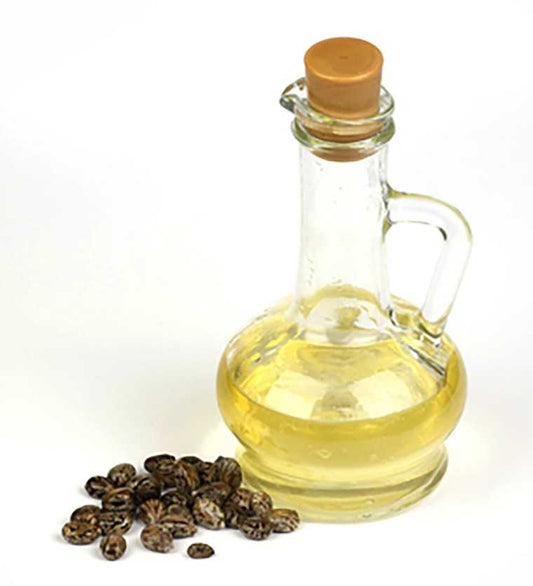
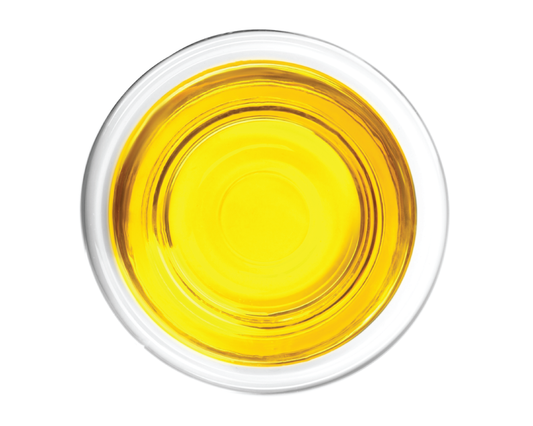
Castor Oil
Vendor:KCCRegular price From Rs.850Regular priceUnit price per -
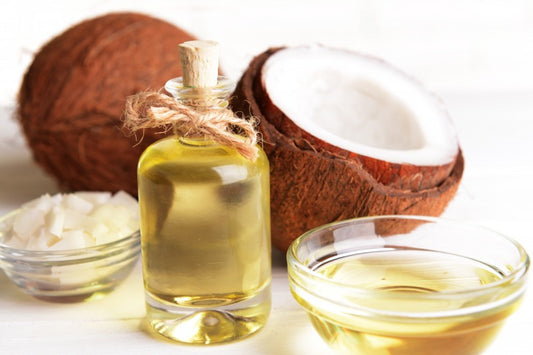
Coconut Oil
Vendor:KCCRegular price From Rs.800Regular priceUnit price per -
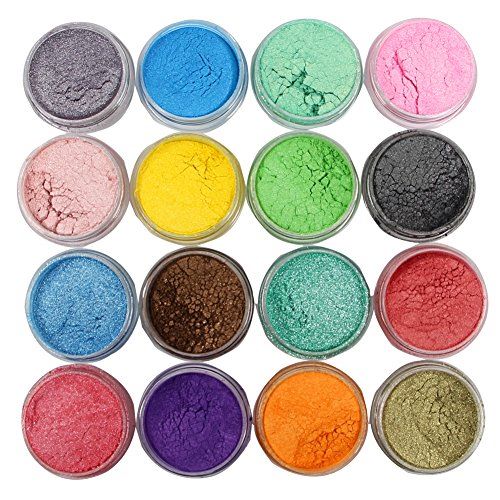
MICA Powder
Vendor:KCCRegular price Rs.630Regular priceUnit price per -
Cocoa Butter - Refined
Vendor:KCCRegular price From Rs.1,360Regular priceUnit price per -
Unrefined Shea Butter - Raw
Vendor:KCCRegular price From Rs.3,340Regular priceUnit price per -
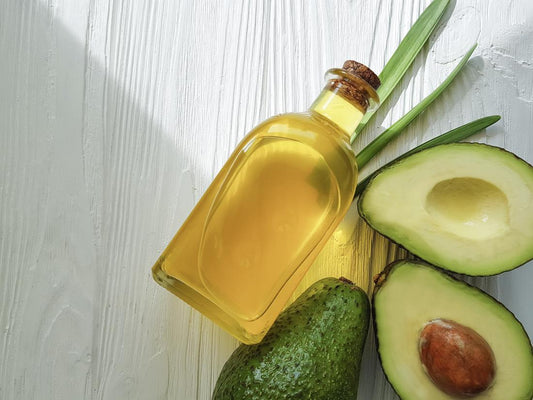
Avocado Oil
Vendor:KCCRegular price From Rs.530Regular priceUnit price per -
Jojoba Oil
Vendor:KCCRegular price From Rs.1,980Regular priceUnit price per -
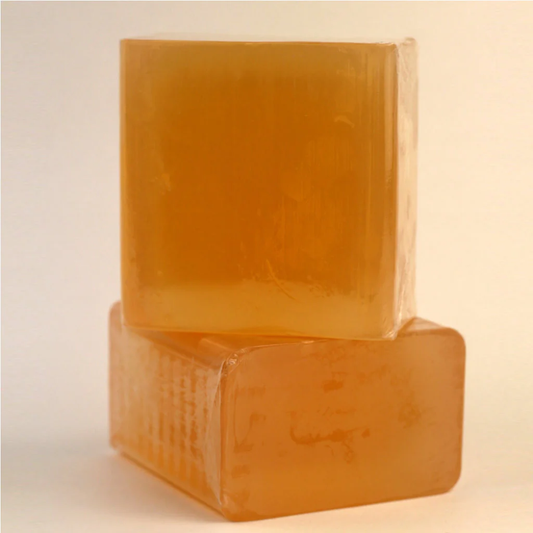
Glycerin Soap Base
Vendor:KCCRegular price From Rs.420Regular priceUnit price per -
Sweet Almond Oil
Vendor:KCCRegular price From Rs.1,050Regular priceUnit price per -
Grapeseed Oil
Vendor:KCCRegular price From Rs.1,570Regular priceUnit price per


Collection: Soap Making Ingredients
What is a Handmade Soap?
Handmade soap is just that—soap made by hand in small batches, using natural ingredients like oils, butters, and lye. Often, it’s enriched with herbs, essential oils, or other skin-nourishing elements. Unlike mass-produced commercial soaps, which often include harsh chemicals and synthetic additives, handmade soaps are typically free from sulfates, parabens, and artificial fragrances—making them a gentler, more skin-friendly option.


Types of Handmade Soap
1. Cold Process Soap Making
Cold process is a classic and widely used method in the soap-making world. It involves combining oils with a lye solution and then allowing the mixture to cure for 4 to 6 weeks. This method gives you full control over the ingredients and is ideal if you enjoy customizing your soaps with unique textures, designs, and fragrances.
2. Hot Process Soap Making
Hot process is similar to cold process but includes an added heating step—usually done in a slow cooker. The heat speeds up the saponification process, meaning the soap is ready to use much faster, sometimes within just 24 to 48 hours. It has a more rustic look but is great for those who want quicker results or are producing soap for small-scale sales.
3. Melt and Pour Soap Making
Melt and pour is perfect for beginners. Instead of starting from scratch, you begin with a pre-made soap base that you simply melt, customize with your preferred additives (like colors, fragrances, or herbs), and pour into molds. Since you’re not handling lye directly, it’s one of the safest and most approachable methods—great for kids or hobbyists.
Tools & Equipments Required to make a Handmade Soap.
🧪 1. Digital Scale
-
Why You Need It: Soap making is a science. Accurate measurements are critical—especially when working with lye.
-
Tip: Choose a scale that measures in grams and has a tare function.
🧼 2. Heat-Resistant Mixing Bowls or Containers
-
Materials: Stainless steel, heavy-duty plastic (HDPE or #5 polypropylene), or heat-safe glass (like Pyrex).
-
Use: For mixing lye with water and combining oils.
-
Avoid: Aluminum (it reacts dangerously with lye).
🥄 3. Silicone or Stainless Steel Spatulas
-
Use: Stirring ingredients, scraping bowls, and mixing additives.
-
Why Silicone? It’s heat-resistant and flexible—great for getting every bit of soap out of your container.
🌡️ 4. Digital Thermometer
-
Use: To monitor the temperature of your lye solution and oils before mixing.
-
Tip: You can use a candy or infrared thermometer too—just don’t use it later for food.
🧯 5. Safety Gear
-
Gloves: Nitrile or latex gloves protect your hands from lye burns.
-
Goggles: Eye protection is a must when handling lye.
-
Apron or Old Clothes: Soap making can get messy, and lye is corrosive.
🌀 6. Stick Blender (Immersion Blender)
-
Use: Speeds up the mixing of oils and lye, helping your soap batter reach “trace” quickly.
-
Why It’s Essential: Stirring by hand takes much longer—this tool saves time and effort.
🧂 7. Soap Molds
-
Types: Silicone molds (for easy release), wooden molds (for large loaves), plastic molds (for shaped soaps).
-
Tip: Line wooden molds with freezer paper or a silicone liner to prevent sticking.
🪓 8. Soap Cutter or Knife
-
Use: For cutting soap loaves into bars.
-
Types: Wire cutters, straight-edge cutters, or even a sharp kitchen knife.
📦 9. Measuring Cups and Spoons
-
Use: Measuring out smaller ingredients like fragrance oils, colorants, or additives.
-
Tip: Keep a dedicated set just for soap making.
🧴 10. Containers for Lye Solution
-
Material: Only use lye-safe containers like HDPE plastic or heat-safe glass.
-
Important: Always add lye to water, never the other way around, to avoid dangerous reactions.
🧽 11. Soap Curing Rack or Tray
-
Use: After unmolding, your soaps need 4–6 weeks to cure (if using cold process).
-
Why: Allows air circulation around the bars for proper drying and hardening.
🧪 12. Fragrance or Essential Oil Bottles & Droppers
-
Use: For adding scent to your soap.
-
Tip: Always measure these carefully to avoid overpowering or under-scenting your soap.
🧼 13. Colorants and Additives
(Not tools, but important “equipment” for creative expression.)
-
Micas, natural clays, dried herbs, oats, charcoal, etc.
-
Use small mixing jars or cups for blending them into your soap batter.